This post will list out the steps required to build a sample integration in Oracle Integration Cloud (OIC) Services. We will use REST connectors to build sample integration, as our end result will be to create REST API in OIC.
Use Case: Through this integration is to generates the payload with the Custom Messages.
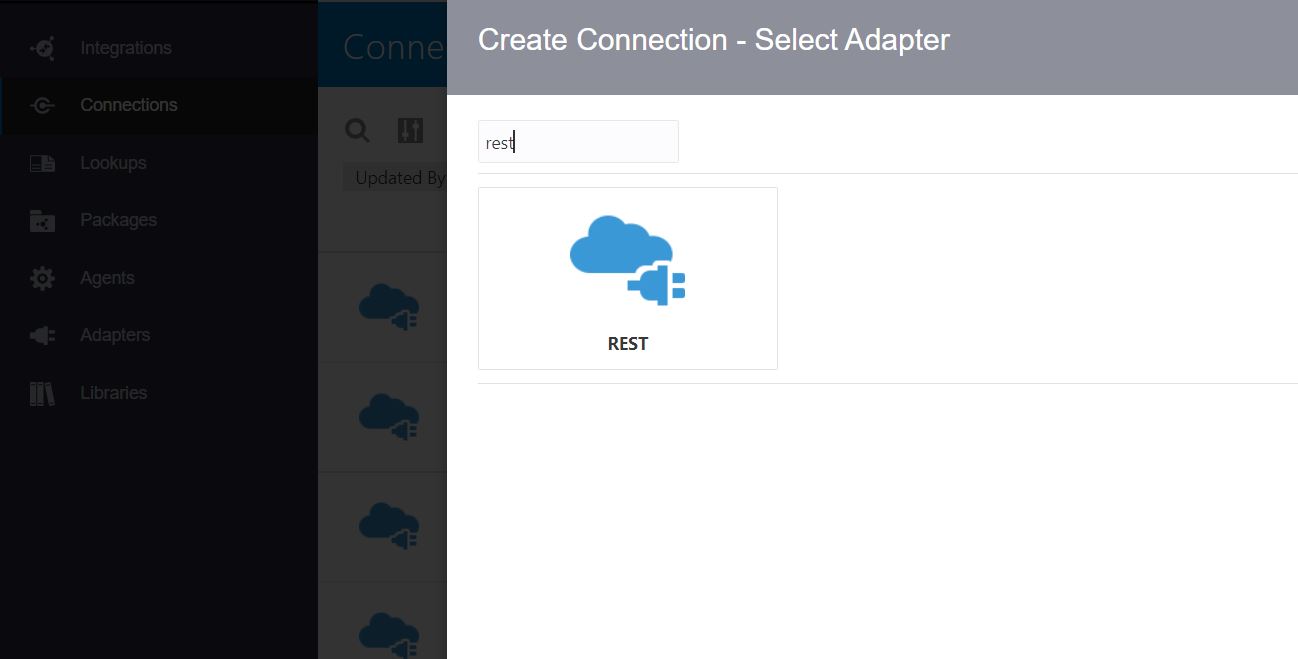
Step 1. As our sample integration is based on REST, then we need to create a connection of Type REST. To create a connection of type REST, Go to Connection and Select "REST"
Fill in the details required to build a connection, Note select the Role as "Trigger" since we are going to Trigger the REST Url within the OIC.
Select the security as "Basic Authentication" and provide OIC user name and Passwords as credentials
Click on the test button to validate whether a connection has been created successfully or not.
Step 2: After the successful configuration of the connection, the next step would be to create Integration.
Go to Integrations and click on Create
Clicking on Creation Button will prompt you to select an integration pattern. Select App Driven Orchestration
Provide the necessary details and package information to build the integration
Once the necessary details are filled in, now next step is to add the newly created Connection to the integration.
Provide the endpoint name
Provide the endpoint URI "/{message}" and select action as "GET" and checkbox the Configure this endpoint to receive this response
Click on Done to finish it
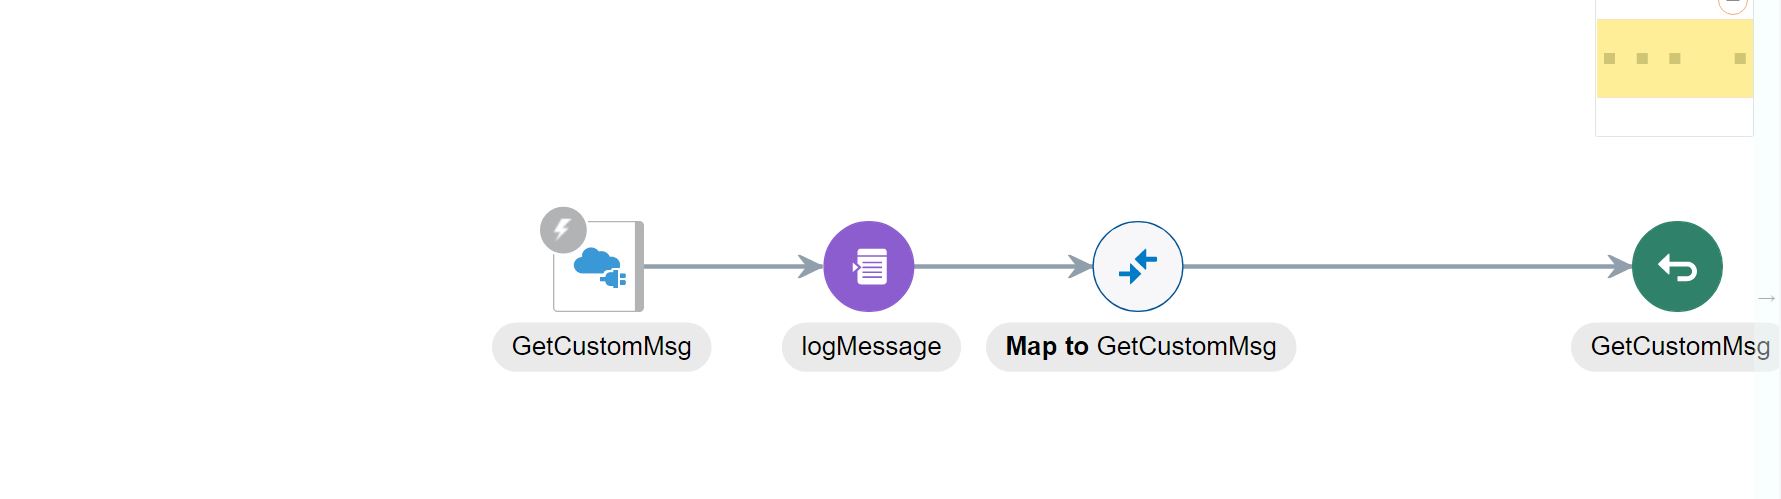
Once you click on the done button, this is how the integration looks with connection and default mapper.
Add a logger to capture messages
Creating Logger
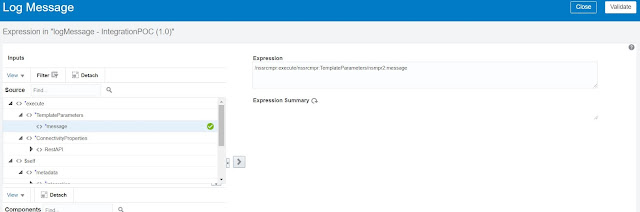
Once Log Message is created , click on edit button
Drag a message onto Expression
Once the message is successfully dropped to the expression, automatically command will be generated in Expression.
Click on Map To GetCustomMsg properties and Map Message to Target as depicted in the screenshot and also write the message. "Welcome to OIC! Integration Testing successful"
Integration development is completed now, we need to enable tracking so that one pending error can be solved. Click on Tracking as depicted in the screenshot
Drag message to tracking field to complete Tracking Process
Tracking is completed now next step is to Activate the Integration. Just toggle the switch to activate the integration.
Click on Activate
Click on Play Button & click on Test to run the integration
Put message parameter value as "Some message" and hit the Test button to view the payload
Click on Show Endpoint MetaData to view the end point URL
Endpoint URL can be copied and paste in the browser. Upon the call of the link it will prompt OIC credentials. After successful login, payload can be seen in the browser
Congratulations your REST API is successfully launched.


3 Comments
Thanks for every other informative site. The place else may just I get that kind of information written in such an ideal means? I have a venture that I’m just now operating on, and I have been on the look out for such information. Elearning localization services
ReplyDeleteCool stuff you have got and you keep update each of us. It is very important to have accurate knowledge about your health. There must be some professional medical translation service provider which help us to understand more about our health so we can perform medical tasks more precisely. medical document translation services
ReplyDeleteI found it really helpful as it has covered every single details from scratch.
ReplyDelete